
- This topic is empty.
-
AuthorPosts
-
11 March 2025 at 14 h 37 min #2750
r0man0
KeymasterTutorial : How to use XML2PNG v0.0.2

With XML2PNG, easily create wheels or personalized artworks: The program converts your Xml database (description) to a text on a PNG image. In a few clicks it’s done!
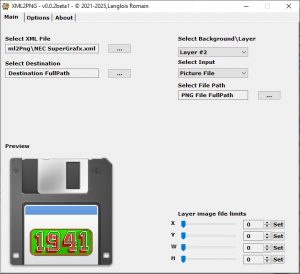
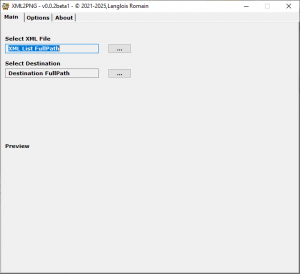 Start XML2PNG application…
 First , select your XML file (Hyperspin or RetroBat) containing the games that you want to create artworks.
Now you have two more options : [Background\Layer] and [Input]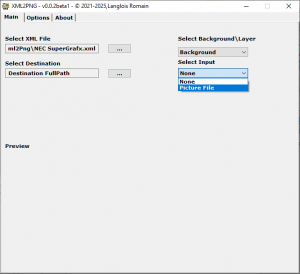 First , you have to select your [Background] and your [Picture File]…
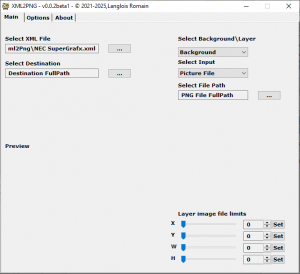 Then Click on […] to select your background file (format must be PNG)
 You can see now your selected file shown in “Preview”
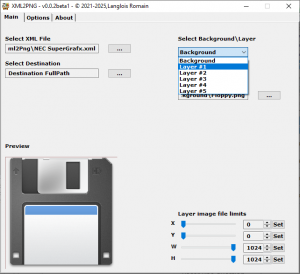 Choose a layer [Layer #1] that will overlay the background image
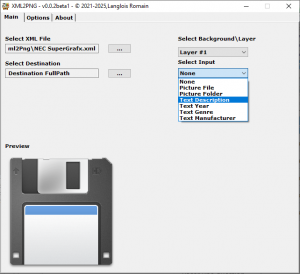 In the “Select Input” option, select e.g. [Text Description]
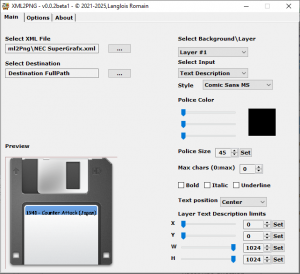 The longest text that matches the entries <description></description> in the XML file you selected earlier is now displayed as an overlay of the previous image.
With all possible options for editing layer 1 description.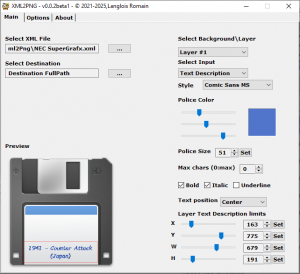 Here’s an example of edited text. (Additional options for text changes can be found in the [Options] tab, which are detailed on this website in the tutorial for version 0.0.1 of XML2PNG)
 You can also choose in the same [Layer #1] the input option: [Picture Folder]
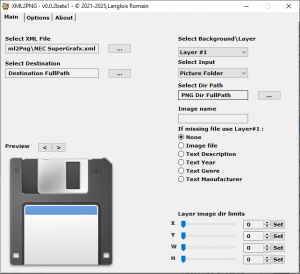 With this option you need to choose a directory of PNG image files that will overlay the previous image (Background)
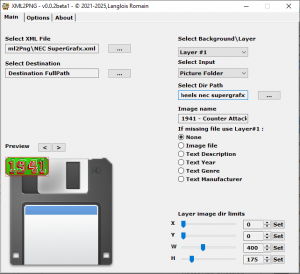 Once the directory has been chosen, the first image found in it appears in “Preview” the [<] and [>] buttons allow you to scroll through the found images.
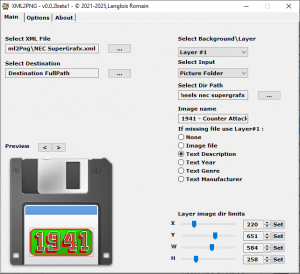 Here I chose the “Text Description” option in the “If missing file use Layer #1:” option. Thus, whenever an image from the XML database set is not found, XML2PNG will replace it with the description text that I configured earlier.
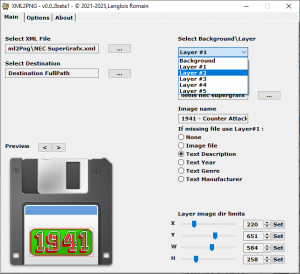 I could stop there, but I’ll show you that we can still add additional layers: Select [Layer #2]
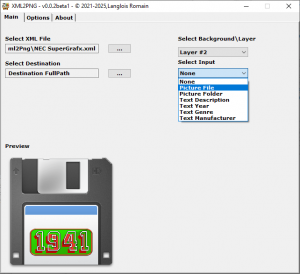 Then select [Picture File]
 Here you have to select the image that will be used as an overlay on the “background” and “Layer #1“.
 Adjust the image boundaries as you see fit
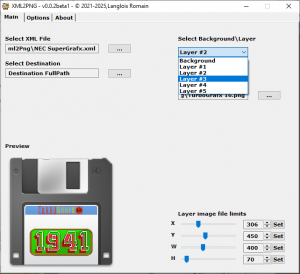 Come on, a third layer to finish…
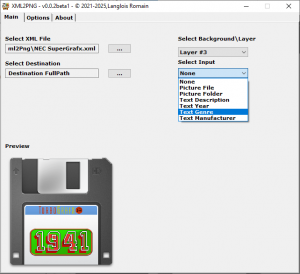 Select in “Input” -> [Text Genre]
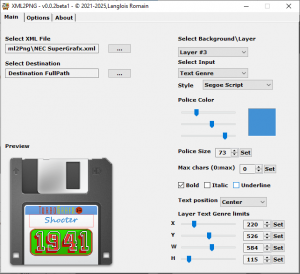 Here the options are the same as those in [Text description] used earlier. (And the “Input” [Manufacturer] and [Year] also have the same options – Note that [Year] is limited to 4 characters)
 That’s it, the preview suits me, I can choose the destination directory and click on [Create] depending on the number of entries contained in the XML it may take more or less time.
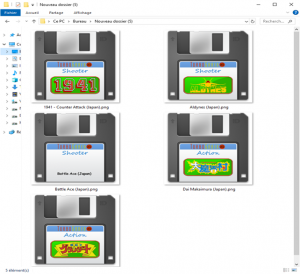 Here is the result of this example.
That’s it! Now it’s up to you to create 😉
If you like my application and want to help me with the development of the website and other applications, a small PayPal donation would be welcome 🙂r0man0
-
AuthorPosts
- The forum ‘XML2PNG’ is closed to new topics and replies.